How to turn you Raspberry Pi into a network speed monitor
System overview
The system we are going to set up only consists of 2 parts, a Raspberry Pi for collecting speed test information and a publicly viewable web application that the Pi will post the data to.
The Raspberry Pi will be connected to the network and run speed tests with the small speedtest Go program. It then posts the results—download speed, upload speed, and ping—to our web app which stores the data in in a Postgres database.
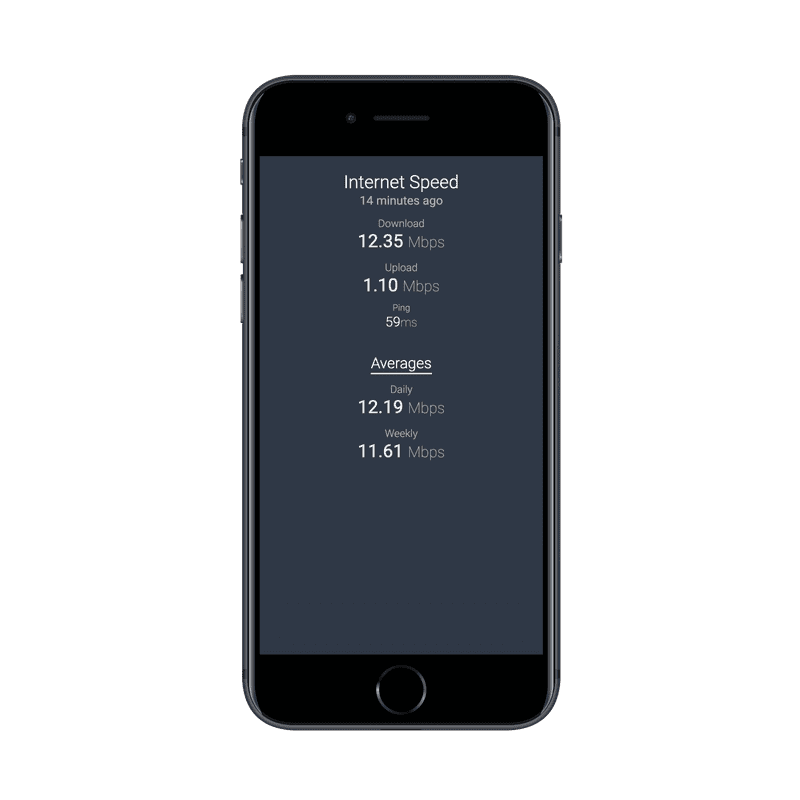
Any client fetching the homepage for our website will see a summary of the most recent speed test along with weekly averages.
What’s needed
-
Raspberry Pi
- Optional: Ethernet cable for a wired connection to your router
- Free Heroku Account for hosting our app
-
Computer (for configuring Heroku and SSH access to your Raspberry Pi)
- Git
- Heroku CLI
- Optional: Node and PostgreSQL if you want to run the Express server locally
Part 1: Setting up the web app
First let’s set up the web application that will receive and store the speed test data from our Raspberry Pi via POST requests.
The code for the server can be found here. It is a simple Express app with just two endpoints: /samples and /.
The simplest way to get this up and running is by using Heroku’s free hobby tier. They also have a free Postgres instance that we can use to store up to 10,000 rows of data. Since I’m taking snapshots hourly, that works out to a little over a year of data.
To get the app running on Heroku you first need the source code cloned locally.
Running the code locally
git clone https://github.com/mmeinzer/cabinet.git && cd cabinetIf you’d like to run the project locally, you’ll first need to run npm install.
Next create a .env file by copying the example:
cp .env.example .envNow open the .env file and enter the port you’d like the app to run on along with some authentication credentials (which can be set to anything) and a Postgres database connection string.
Start the app by running npm start
Deploying to Heroku
Once you have the source code locally, deploying to Heroku is pretty straightforward.
Double check that you’re in the Cabinet source code directory that you just cloned and then run:
heroku createThis command initializes the app on Heroku. Next configure your apps environment variables using heroku config.
The required variables are USERNAME, and PASSWORD. PORT and DATABASE_URL will be set automatically by Heroku.
heroku config:set USERNAME=matt PASSWORD=testNext create your Postgres database.
heroku addons:create heroku-postgresql:hobby-devThis will set the DATABASE_URL environment variable and restart your app. To see your app run
heroku openThere’s no data yet so next we’ll set up the Raspberry Pi to run the speed tests and post the results to our app.
Part 2: Setting up the Raspberry Pi
First make sure that you have SSH setup on your Pi. Then connect the Pi to your router or network switch and and plug in the power cable.
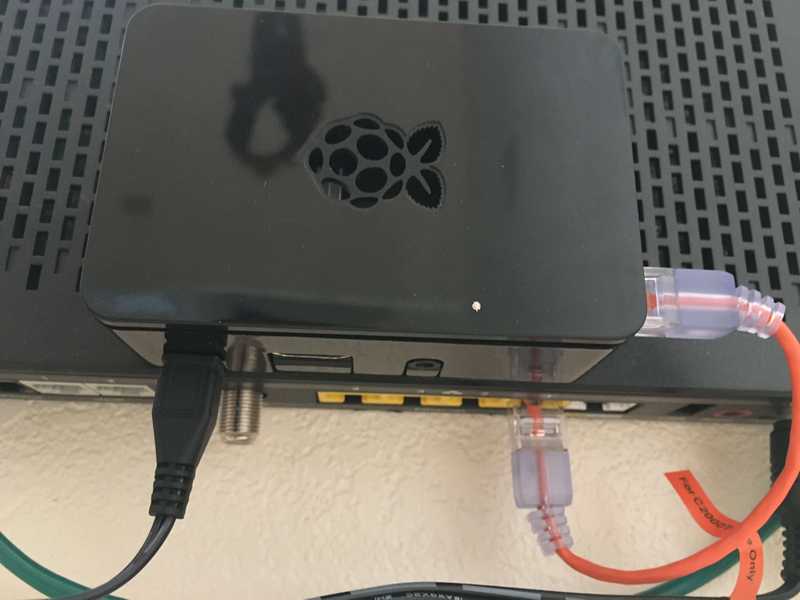
In my setup, I’m using a flexible 6 inch patch cable and piggybacking the Pi on the router to keep things relatively tidy.
Installing the speed test program
SSH into your Pi and then download the speedtest binary:
cd ~/ && curl -L https://github.com/mmeinzer/speedtest/releases/download/v1.0.0/speedtest --output speedtest -sOnce you have the binary, make it executable:
chmod +x speedtestYou should now be able to run the speedtest program. Output the help to make sure:
./speedtest --helpIn order to actually run the speed test and POST the results to our web app, we will need to pass in the endpoint along with the basic auth credentials we set up earlier.
./speedtest -e ENDPOINT_URL -u USERNAME -p PASSWORDAs an example, your filled out command should look like this:
./speedtest -e https://cabin-internet.herokuapp.com/samples -u matt -p e8xewmGLqvNote that the endpoint URL ends in /samples here as this is the specific REST endpoint set up to receive our POST requests.
If you’ve entered everything in correctly, this should run a speed test and then post the data to your Heroku app. Refresh the homepage of your site to check it out.
Setting up a cron job
The final setup step is to enable our program to run as a cron job. Decide on the frequency you’d like your speed tests to run—every hour might be a good place to start.
Open up your crontab file for editing with crontab -e
Next add in a line at the end of the file to call your script:
0 * * * * ./speedtest -e ENDPOINT_URL -u USERNAME -p PASSWORDThe string 0 * * * * at the start of the line tells the script to run hourly at the top of the hour. Check out https://crontab.guru/examples.html if you’d like to set up a different frequency.
Wrapping up
You now have your Raspberry Pi setup to collect internet speed data on your home network and a web app to collect and view the data. Because we’re using basic authentication to protect the /samples endpoint, only your Pi will be authorized to add new data.
If you’re running other projects on Heroku and don’t want to be charged, or if you don’t want to use up your free dyno hours, be sure delete your newly created instance and database from the dashboard.


